Tausha from Sassy Style Redesign is here to share her adorable DIY Halloween Chalkboard project!
She always has such creative ideas to share… I just love having her come and visit with us.
Hi Whats Cooking with Ruthie Readers!
I’m Tausha with Sassy Style Redesign and I am so excited to be back!

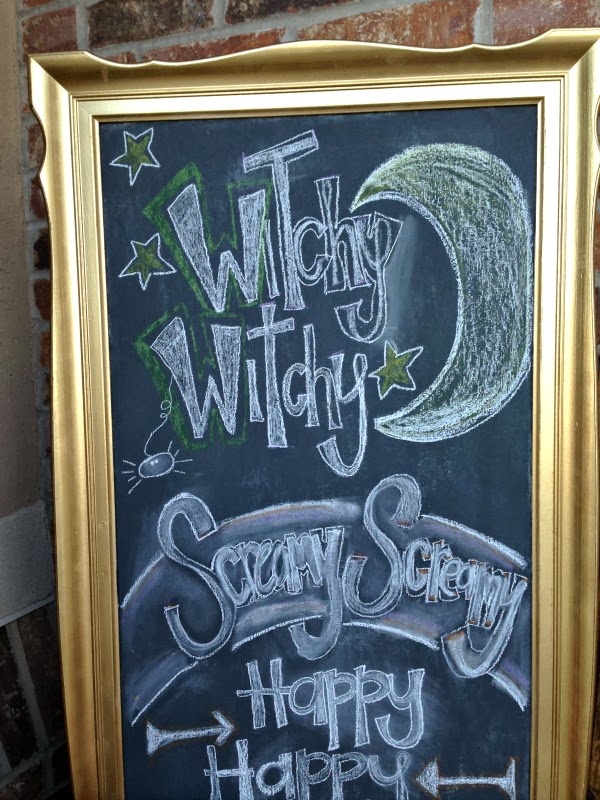
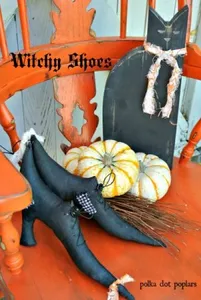
I have shared my love of Halloween with you before. But I haven’t shared my love of chalkboards yet. I love, love chalkboards. So I am going to combine my loves and share some of my Halloween Chalkboard Art & some of my favorite chalk writing tips.


I have been doing my own chalkboard art for a couple years now. I love to draw on chalkboards! I find that it’s relaxing, and I swear to you, I am a better mom when I draw on a chalkboard. 🙂
I have learned a couple of tricks along the way that I would love to share with you.
First, I like to make my own chalkboards. I did a whole post all about how I do it. I don’t use chalkboard paint from the big box stores. Hmmm…intrigued?
2nd-Your tools make all the difference in the world!
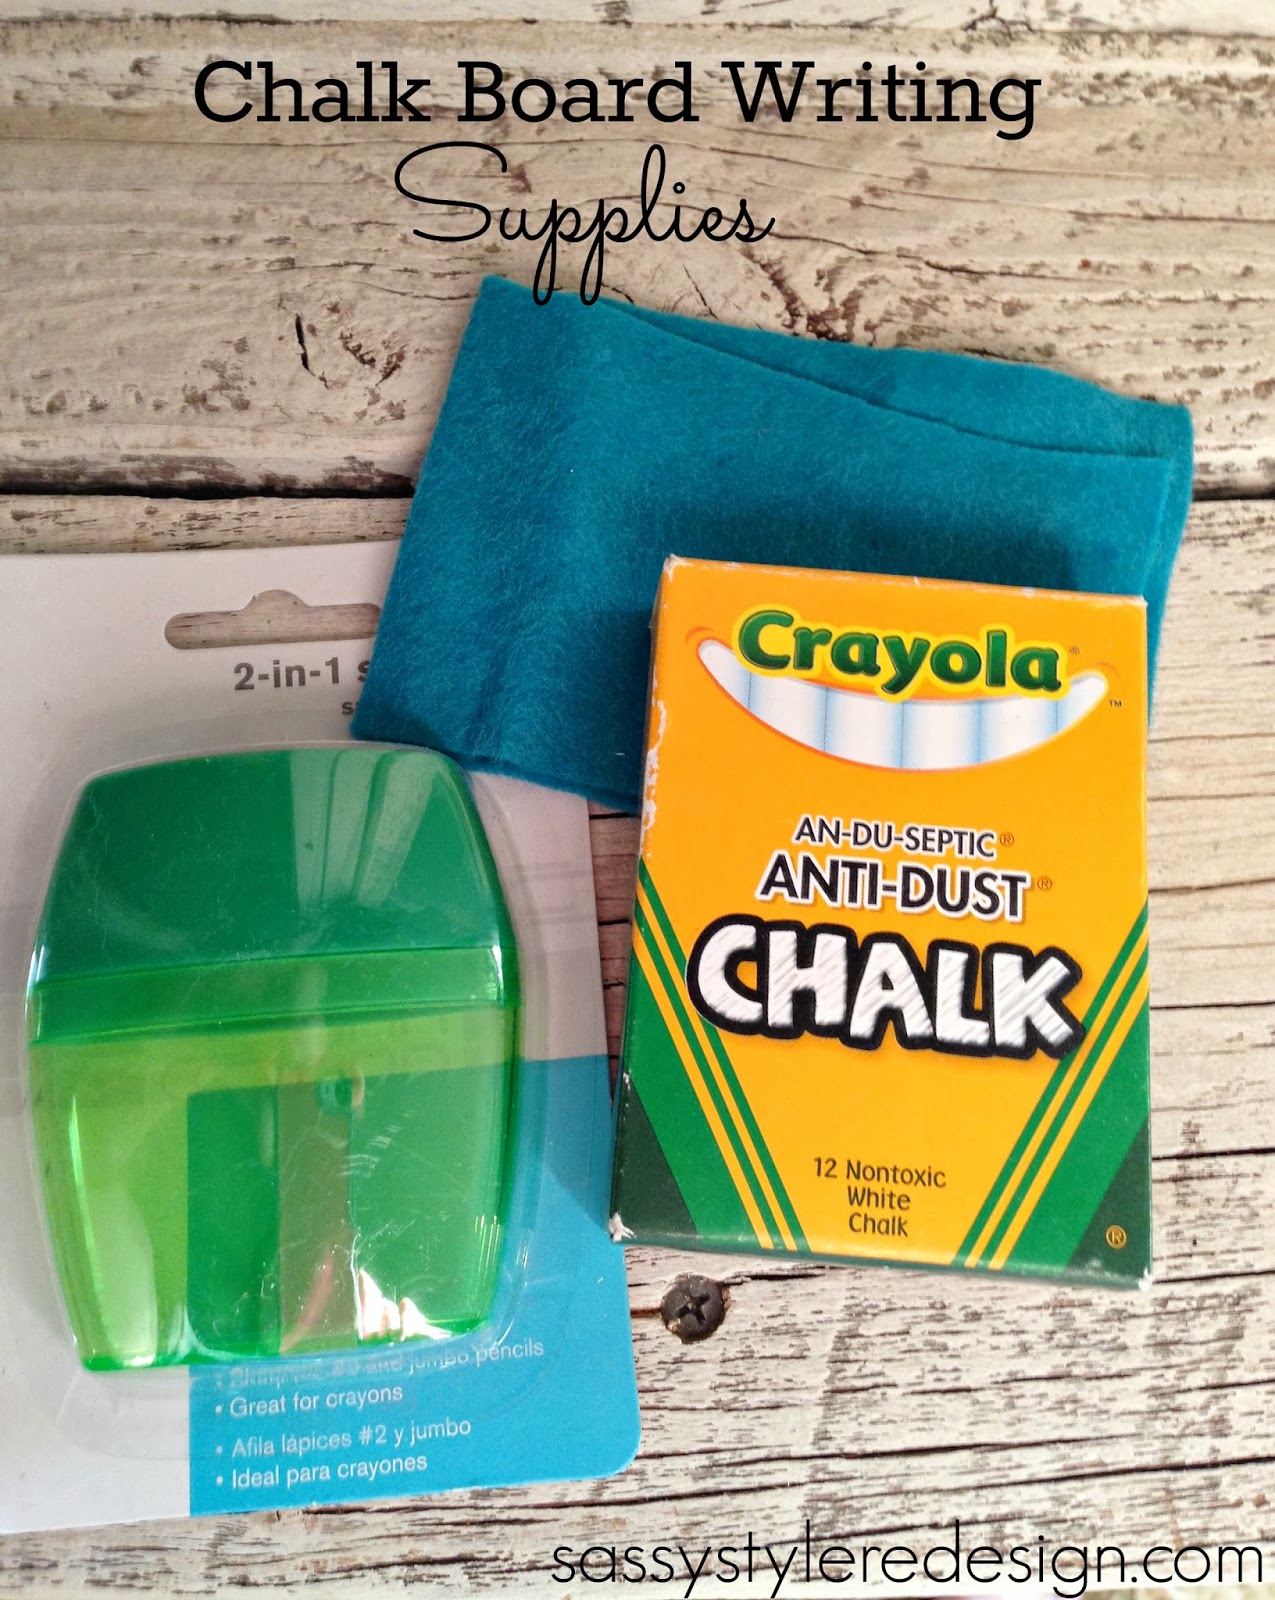
-A piece of felt makes the best eraser
2-1 Sharpener-the one with the 2 holes. A small one and a large one.
This is less than a dollar at wal-mart.
I know what your thinking, why in the heck do I need a pencil sharpener? Well, you can sharpen your chalk. Yes, sharpen it! It is mind blowing and fabulous!

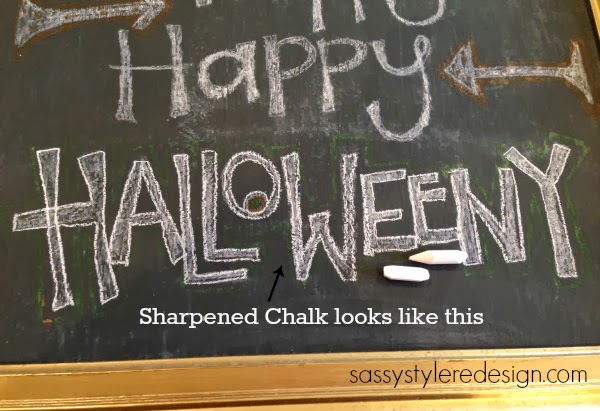
Chalk is much easier to write with when you have a point. When you wear the point down, just sharpen it again.
Don’t be afraid to mess up. It’s only chalk and you can erase it. So please don’t be afraid to try. You can’t mess up! I promise!
When I draw on my chalkboard-I like to have a couple widths, point and sizes of chalks handy.
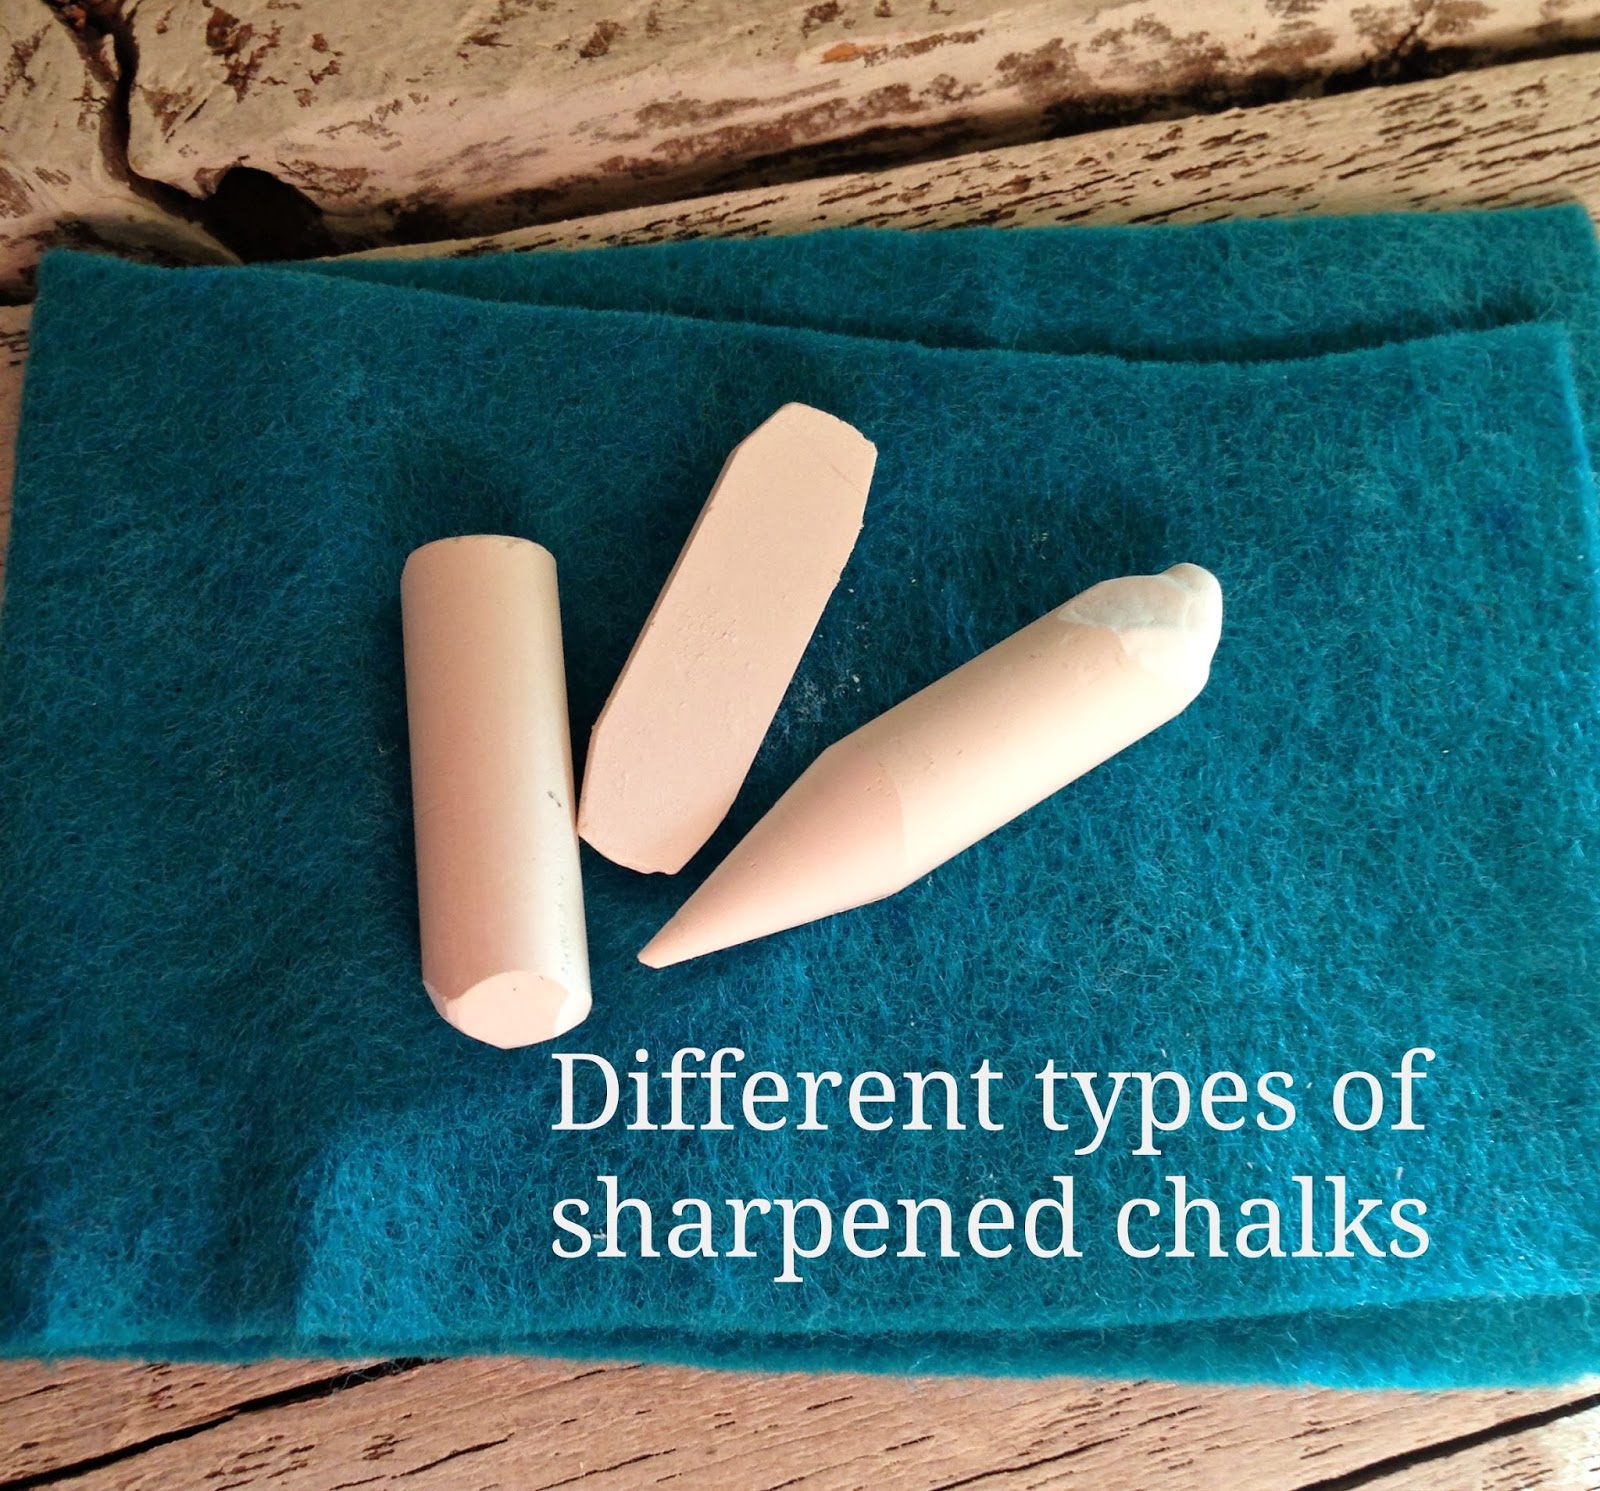
By having different kinds of chalk sizes, you can do different kinds of lettering.

I would love for you to stay in touch..
♥Tausha

Recommended Posts

Chef Ruthie
Owners at Cooking With Ruthie
Title:
DIY Halloween Chalkboard
Authors:
Categories:
Mentions:
chalk, decorations, Halloween
Keywords:
DIY Halloween Chalkboard
Last Updated:
October 24, 2013
- Easy Fruity Sangria Recipe
- Perfect Cranberry Sauce Recipe
- Pumpkin Spice Caramels Recipe
- Lunch Lady Peanut Butter Bars
- DIY Indoor Herb Planter
- Peach Upside-Down Cake Recipe
- Caprese Garlic Bread
- Mexican Potato Soup
- Dijon Mustard Potato Salad
- Hot Butterscotch Sauce
- Cotton Candy Popcorn Recipe
- Satin Ribbon Flower Tutorial
Leave a comment