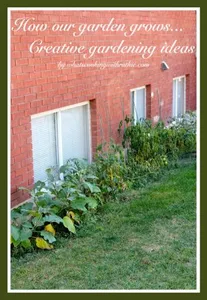
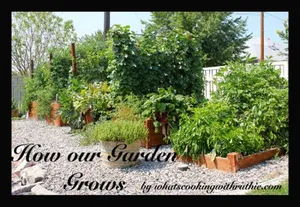
How our garden grows
Week 7
This week wanted to show you how we plant our corn and talk a little about “The 3 sister’s technique”… Plus, we’ll throw in a few snap shots of our garden beds so you can see how our gardens growing 🙂
To start corn from seed it’s a good idea to begin sprouting them in a jar with a mesh lid and little bit of water. Change the water every day and even a couple of times a day if you can so they don’t rot. Once they appear to have the start of a little tail, they are ready to go out and plant! The idea is to give them a jump start by sprouting them before they’re planted in the ground. We plant our corn in phases so it isn’t all ready at the same time… that way we can just eat as it slowly as it ripens!


Corn germinating in glass jar
An interesting thing about corn is it’s roots are actually very shallow and so it can easily be tipped over with a strong wind. To help counter act that, corn can be planted in the bottom of a hole or you can use a Styrofoam cup with the bottom removed. Once the corn stalk has grown tall enough, fill in the whole with dirt AND you’ve got a stronger stalk of corn 🙂


Planting corn in the bottom of a cup or hole


Corn stalk ready have the hole filled in with dirt
Here’s a picture of our first phase of corn when it was 3 weeks old…


3 week old corn
AND here it’s is again at 5 weeks…


5 week old corn
There’s a technique called “The 3 Sister’s” that the Indians used… the idea is to start your corn growing first, then add in squash to grow on the ground and green beans to grow up the corn stalks! What a wonderful way to utilize space and all those vegi’s like growing by each other too!!
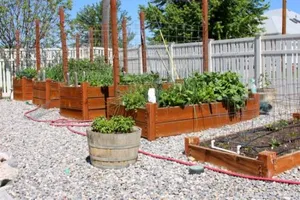
Here’s a few snap shots from our growing garden beds…
Remember our vegetable trellis we put up in week 5?? Here’s a picture of the cucumbers at about 2 weeks after transplant, the leaves in front are purple potato fingerlings, and then some asparagus in the back…


Cucumbers at 2 weeks after transplanting
Here’s another picture of a different variety of potatoes… these are blue potatoes BUT, you’d never know by the looks of the leaves 🙂


Blue Potatoes, planted for 5 weeks
These cantaloupe were started from seed in the bed about 6 weeks ago, once they’re big enough we’ll start to train them up the trellis. Also in this picture are onions, radishes, chard, beets, and some turnips!! We ordered our onion starts from Dixondale Farms we usually get a variety box and pick 3 different kinds. Make sure you order the right kind of onion for your growing region.


Cantaloupe grown from seeds started about 6 weeks ago
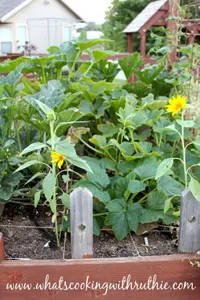
Here’s a picture of our squash that we started under the lights and transplanted out into the garden about 6 weeks ago…


squash at 6 weeks
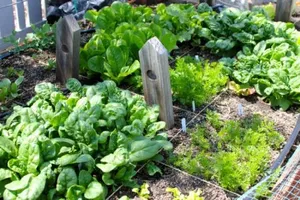
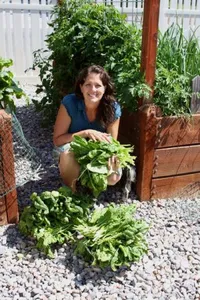
AND last but not least… were so excited that our lettuce greens are ready to start harvesting!! Once it gets too hot they’ll be killed off so we’ll have to enjoy them while we can!


Lettuce greens ready to harvest
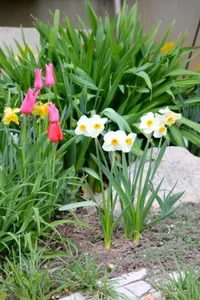
OH and I guess there’s one more… my darling little flowers, that I showed you how to make in DIY flower pots, are just growing in their pots so cute that I’d thought you’d like to see another pic 3 weeks after being planted!


Flower pots 3 weeks after being planted
We hope you’ve enjoyed this weeks post on how our garden grows…
Love,
Ruthie
Recommended Posts