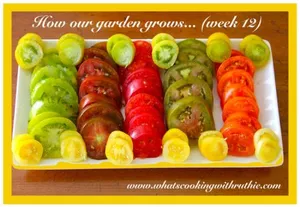
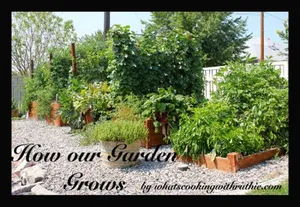
How our garden grows
Week 4
We’ve been working on transplanting and “hardening off” our little seedlings so they’ll be ready to plant… we’ve been at it for a couple of weeks SO, today we’re gonna show you how it’s done!!
Transplanting:


Transplanted seedlings
Once the seeds sprout and begin to grow under the lights, their growth needs to be watched carefully so they don’t get too big for their container. If the roots grow and are able to touch the sides of the container they become what’s called “root bound” this is where the roots begin to grow to the shape of the container and that significanlty slows the growing process.


That big seedling’s ready to transplant
When the seedling get a couple inches growth, it’s time to transplant. We use the same starter mix, Jiffy Organic Seed Starting Mix, moisten well with water, fill an 8 oz styrofoam cup with 1 inch of moistened mix, carefully loosen the seedlings from the starter tray cup, and move to the styrofoam cup. Fill in the remaining open space with moistened mix.
Like this:


Using a seed starter mix for transplanting


Moisten and mix well


Put 1 inch of soil in the bottom styrofoam cup


We use a flat head screw driver to gently loosen sides of the transplanting seedling


gently move seedling into new cup, fill remainder of open space with more mix
Good job!! You just transplanted a seedling… easy as that!!
Now take the flat head screw driver and poke 3 holes about a 1/2 inch up from the bottom and spaced evenly around the cup. That’s for excess water to drain 🙂


Take flat head screw driver and a 1/2 inch up from the bottom make 3 evenly spaced holes for drainage!
The “Hardening Off” process:


Set the little plants outside in the day and bring them back in at night
When the seedlings are ready to be planted or if you bring new plants home from the greenhouse they take a bit of time to acclimatize to their new surroundings. It’s best to keep them inside at night (or at least in the garage) and outside during the day BEFORE you plant them in the garden! Do this for the first week and it will give them time to toughen up. This is called the “Hardening Off” process!


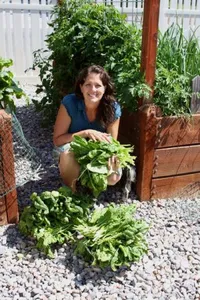
Ruthie picking out herbs for the garden planters
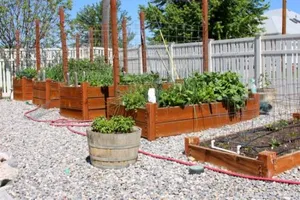
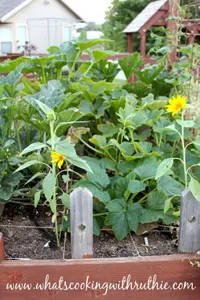
About 3 weeks ago, a friend of ours went to the nursery and purchased all the plants that she wanted for her garden. In our area there is only a 10% chance that it will frost again after Mothers’ Day so that is usually the first day we put unprotected plants out in the beds. This year it has been so warm that we’ve put a few things out earlier than usual.
When our friend got home from the nursery, she directly put all of the plants into the garden, and then a cold spell that very night. She called and thought her plants had froze, we were a little worried because we have some tomatoes out already…
The thing is… our plants were fine, unfortunately, she lost some of hers BUT not due to frost. She just took those plants directly from the cozy warm green house and put them right out in the garden when it was still relatively cold outside. Some died from shock.
So, the moral of our story is… make sure you’re “Hardening Off” your plants whether you start them yourself or buy them from a nursery 🙂
One more note to watch out for when “Hardening Off” your plants are signs of sunburning…
It looks like this:
Drastically sunburned leaves have dry and crinkled edges, the first 2 leaves that sprout are especially susceptible to sunburn! This little guy got pretty fried yesterday so we put this tray out for only half a day today!


drastically sunburned leaves
Mildly sunburned leaves… in the plant on the right side of the picture below, you can see the edges lightly browned vs the one on the left which is an even green color.


Mild Sunburned leaves
Healthy leaves: Here you can see the difference between the healthy leaves and the severely sunburned one.


Healthy leaves with the sunburned plant
It may seem like there a lot of steps to go through in order to grow your own starts but it’s worth it when you get to enjoy all of the heirloom produce that are not available in nursery’s… as we go through the summer we’ll show you all the cool heirloom varieties of tomatoes, peppers, melons, and a cucumber too… that we’re growing!
Happy Gardening,
Ruthie
Recommended Posts